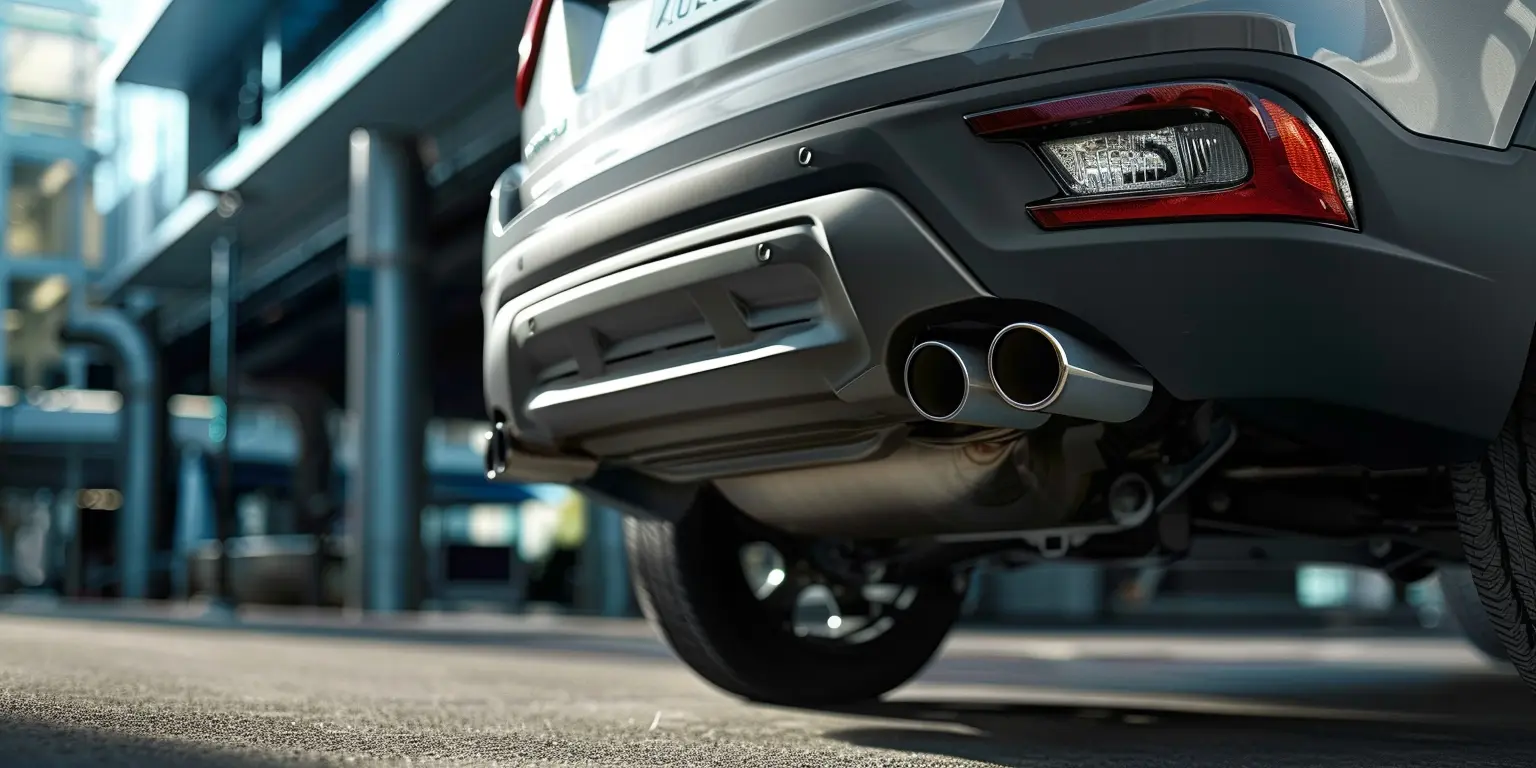
Chevrolet Captiva Service & Repair Manual: Exhaust Muffler, Replace

| Warning: Exhaust system operates at high temperatures. Allow system to cool before servicing or burns or personal injury may result. |
| Caution: Do not use oil or grease based lubricants on the isolators. These lubricants may cause deterioration of the rubber. This can lead to separation of the isolator from the exhaust hanger bracket during vehicle operation. |
| If equipped, do not excessively bend, twist or allow exhaust to hang from flexible pipe or damage to muffler and tailpipe may occur. |
| 1. |
If equipped, remove muffler splash shield. |
| 2. |
Support muffler and tailpipe with a suitable jack stand. |
| 3. |
Remove muffler clamp or cut exhaust pipe before muffler, as required. |
| 4. |
Remove exhaust/muffler isolators as required. |
| 5. |
Remove muffler assembly from vehicle. |
| 6. |
Reverse procedure to install. Inspect to see if exhaust system isolators are at zero load, if exhaust system isolators are not at zero load, realign exhaust system. |
|
Replacing the exhaust muffler in a 2014 Chevy Captiva is a significant maintenance task that can impact the vehicle's performance, fuel efficiency, and overall driving experience. The exhaust muffler plays a crucial role in reducing noise levels and controlling emissions by directing exhaust gases through a series of chambers and baffles. Over time, the muffler can deteriorate due to rust, corrosion, or internal damage, leading to increased noise, reduced engine efficiency, and potential emission issues.
The process of replacing the exhaust muffler typically involves several steps. First, the vehicle is safely raised and supported on jack stands or a lift to provide access to the muffler. The exhaust system is then inspected to determine the exact location of the muffler and any additional components that may need to be removed or disconnected. Depending on the design of the exhaust system, this may include removing exhaust hangers, bolts, or clamps securing the muffler in place.
Once the old muffler is removed, a new replacement muffler is installed by aligning it correctly with the exhaust pipes and securing it with new hangers, bolts, or clamps. It's crucial to ensure that all connections are tight and leak-free to prevent exhaust leaks and maintain optimal engine performance. After the replacement, the vehicle should be tested to verify that the new muffler functions properly, reduces noise levels, and maintains proper exhaust system functionality.
Warning: Exhaust system operates
at high temperatures. Allow system to cool before servicing or burns or
personal injury may result.
Do not use oil or grease based
lubr ...
More about:
Chevrolet Captiva Owners Manual > Climate Controls: Climate Control Systems
The heating, cooling, and ventilation for the vehicle can be controlled with
this system. For vehicles with the remote start feature, the climate control
system functions as part of the remote start feature. See Remote Keyless
Entry (RKE) System Operation on page 2-2.
Fan Control
Outsid ...

 Exhaust
 Exhaust Tail Pipe, Replace